

 03:35
03:35
 Vidi Okta Deadpool

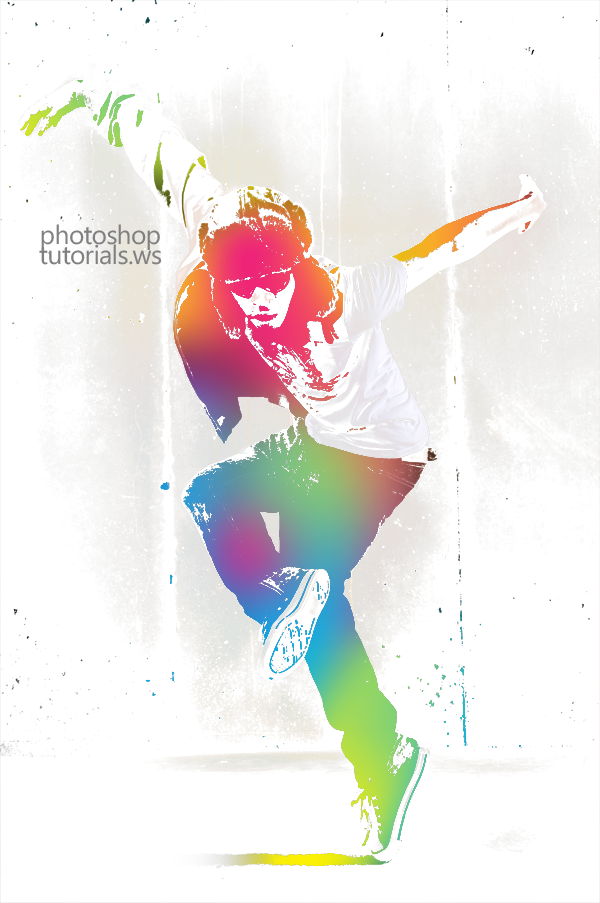
Urban Ink Photo Effect Photoshop Tutorial
Preview of Final Results
Stock Photos
The image below is the stock photo we used to create this tutorial. We used the highest resolution image for this tutorial but you can follow this tutorial with a lower resolution image. You can also use your own image. We recommend starting with a photo of a model and a simple light background.
Step 1 – Open the image of the dancer
Load the image of the dancer into Photoshop. To do this, choose File > Open, browse for the file, then click OK. Note that this effect only works on photos with a simple background.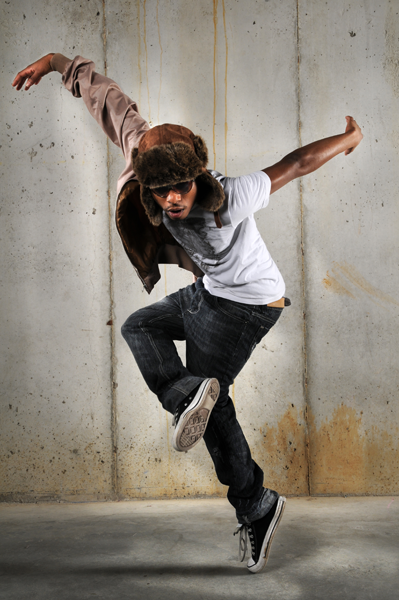
Step 2 – Duplicate the layer
Press Ctrl+J or choose Layer > Duplicate Layer to create a copy of the layer.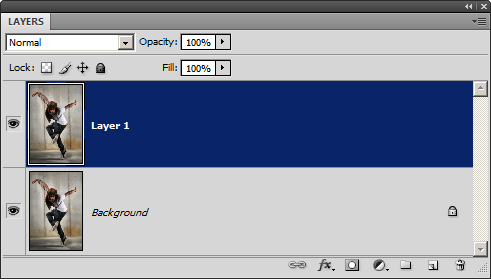
Step 3 – Apply Threshold
Choose Image > Adjustments > Threshold. Adjust the input slider so that most the background disappears and only the shadows of the model is in black.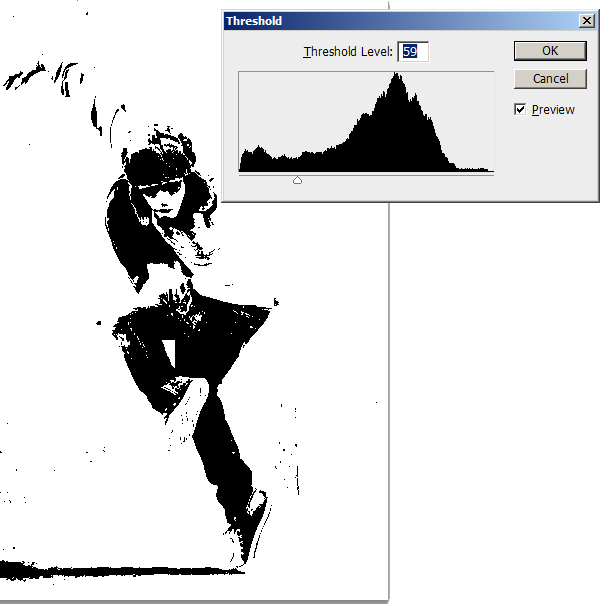
Step 4 – Blend the layer
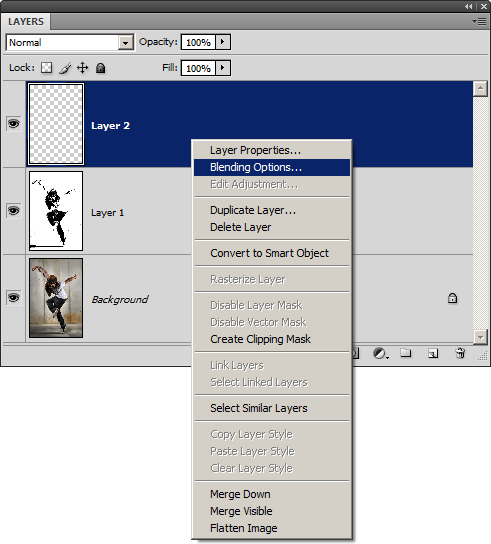
Right-mouse click on the top layer then choose Blending Options.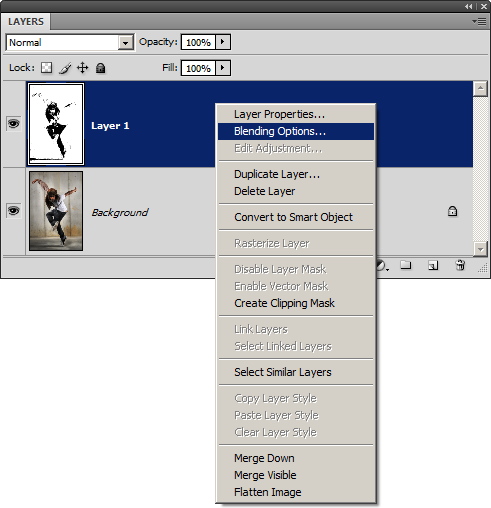
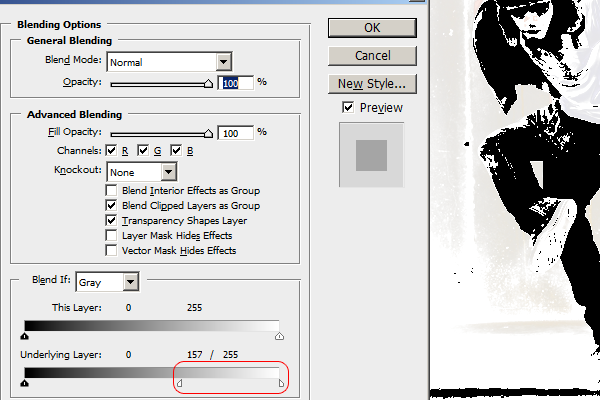
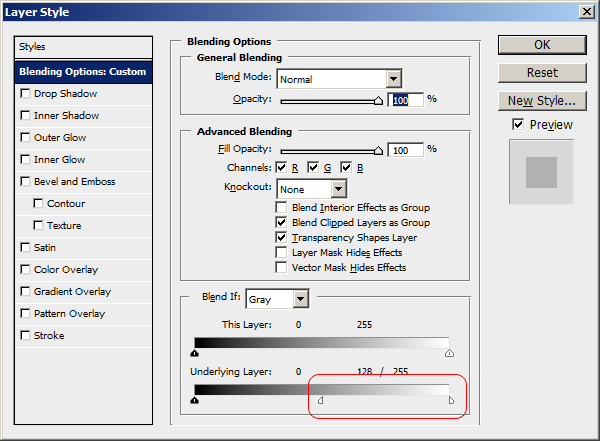
While
holding down the Alt key, drag the white input slider in the Underlying
Layer setting towards the left. Click OK when done. If you are working
on an image with a dark background, you may have to adjust the black
input slider instead.
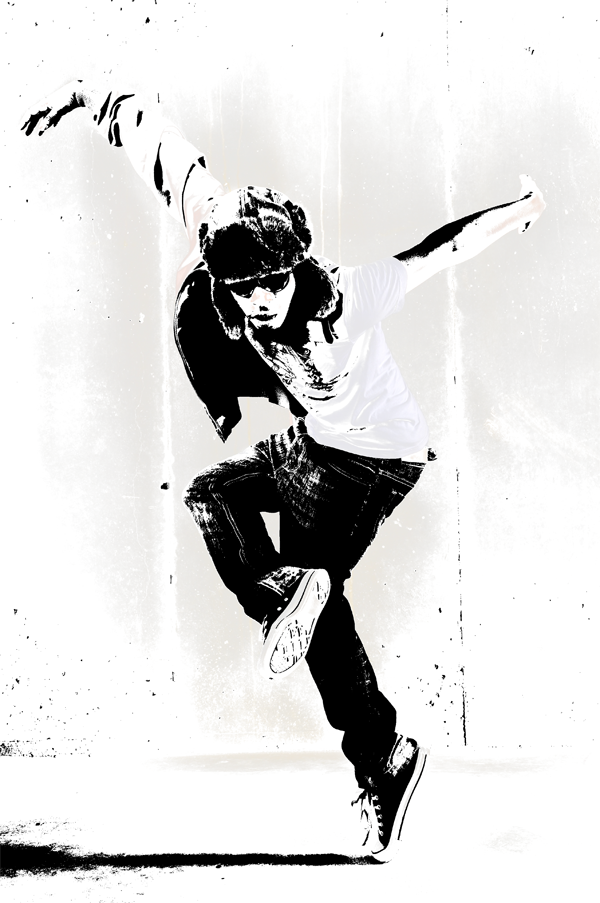
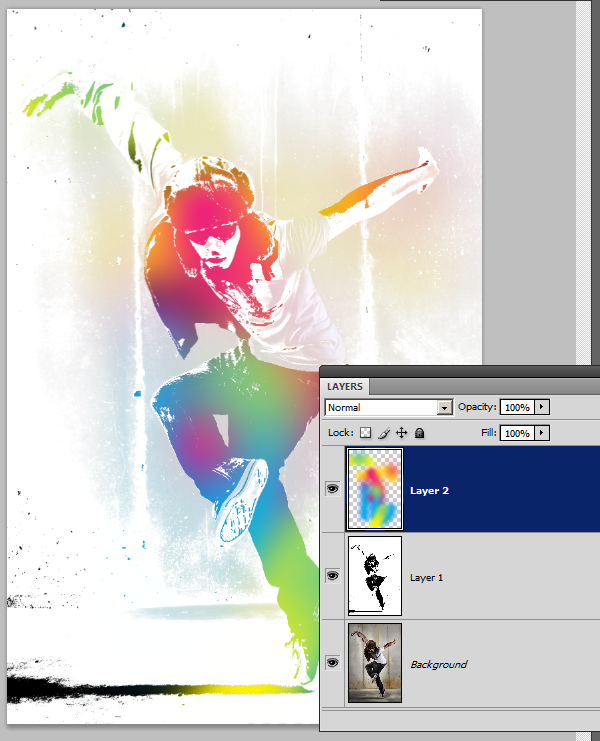
 Here’s what our image looks like after the adjustment.
 button to create a new layer.
 While
holding down the Alt key, drag the white input slider from the
Underlying Layer settings towards the left. You won’t see any effect yet
but this will help us preview the final results when we add color to
the image in the next step.
While
holding down the Alt key, drag the white input slider from the
Underlying Layer settings towards the left. You won’t see any effect yet
but this will help us preview the final results when we add color to
the image in the next step.
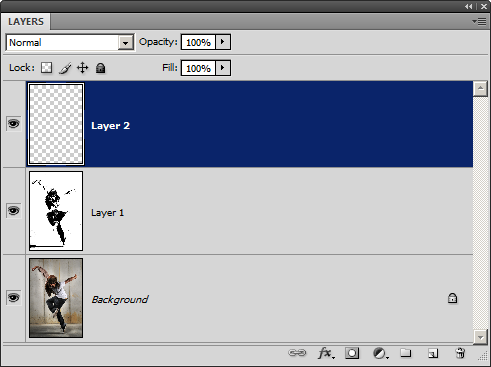
Step 5 – Create a new layer
In the Layers palette, click on theStep 6 – Blend the layer
Right click on the current layer then choose Blending Options.Step 7 – Add color to the image
Paint the current layer with any color of your choice. Use a large brush with a hardness of 0. We used cyan, magenta, and yellow to create the results shown below.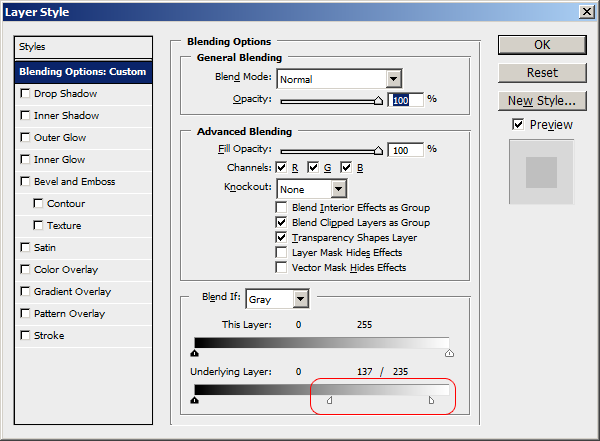
Step 8 – Refine the threshold layer
Select Layer 1 then paint the layer as you like. For my image, I used a large brush with a hardness of 0 to paint the shadow on the bottom with white. This makes the shadow fade into the background.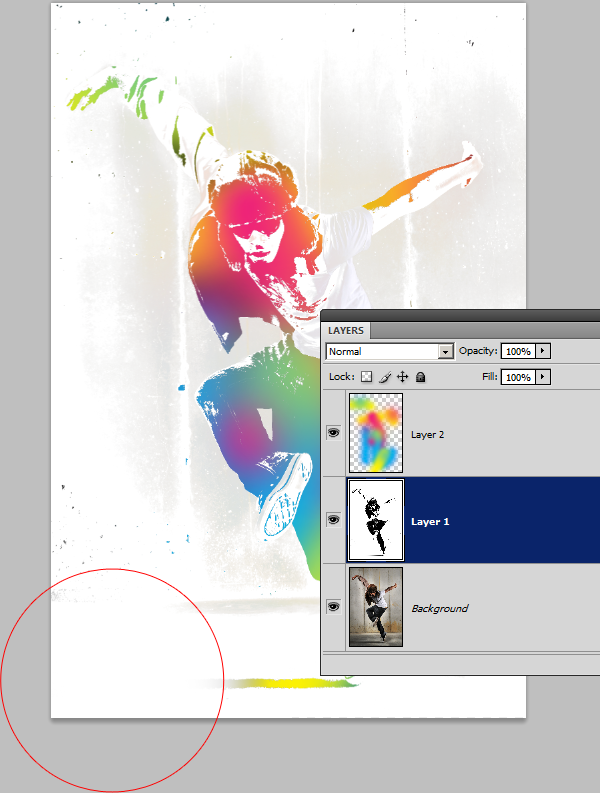
Final Results
 Posted in: Tutorial Photoshop


0 comments:
Post a Comment