
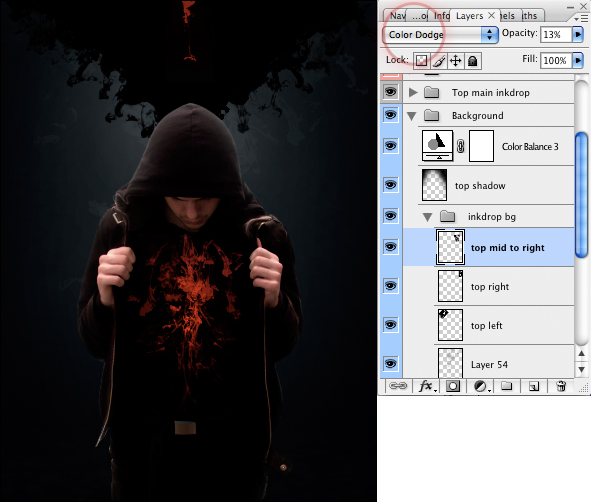
Step 18
Now it’s time to do a few finishing touches to the image. Add a few
final white ink drops to the main background using the same techniques
as before. However, make sure that the layers are desaturated, faded,
and the Blend Mode set to Color Dodge.
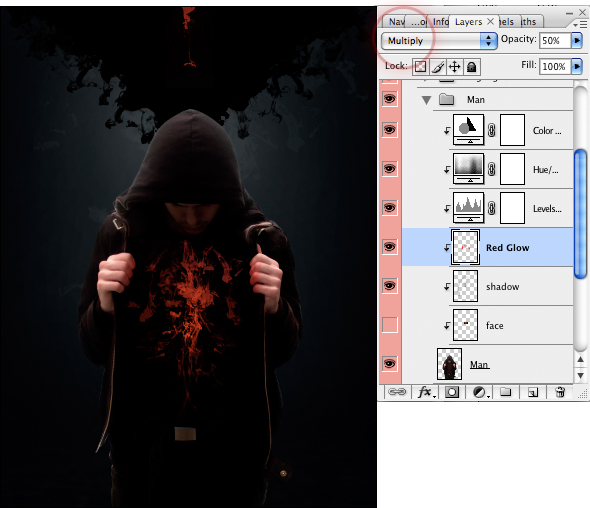
Step 19
Decide whether you need to darken or colorize any parts of your main
image. Then create layers accordingly. I decided I wanted the man’s
hands to glow from the red ink, so I drew over the hands with a soft
red brush. Then set the Blend Mode to Multiply. Also, I added a few
shadows and blue hues.
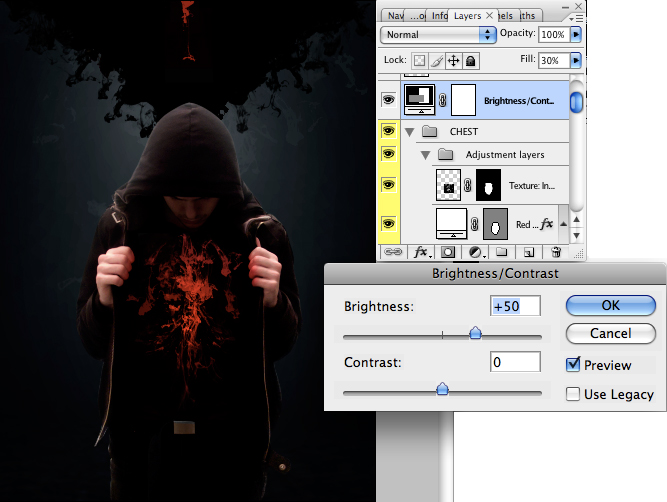
Step 20
Finally, adjust the brightness and color of the overall image by
using an Adjustment Layer at the top of the document (Layer > New
Adjustment Layer). Then I added a Brightness/Contrast to lighten the
image, as shown below.
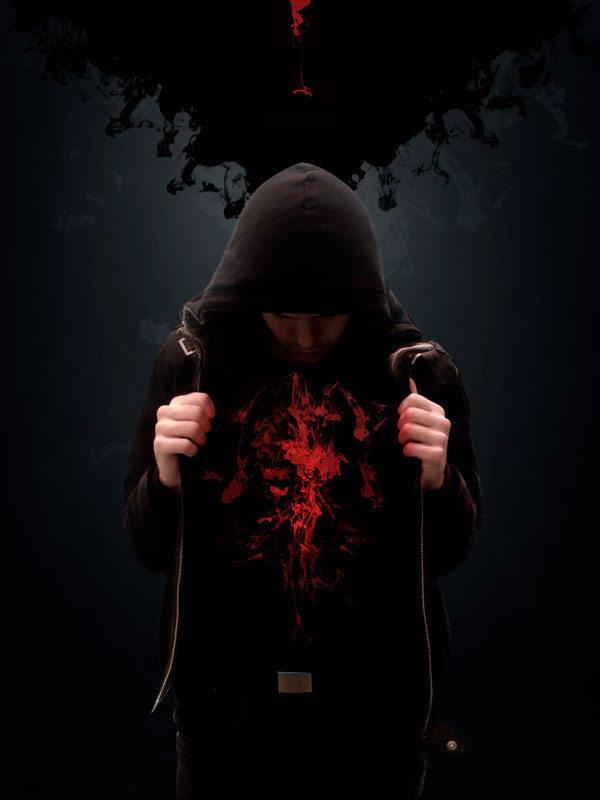
Final Image
The final composition is below.
RETURN STEP 1
 Posted in: Tutorial Photoshop
Email This
BlogThis!
Share to Facebook
Posted in: Tutorial Photoshop
Email This
BlogThis!
Share to Facebook


 11:22
11:22
 Vidi Okta Deadpool


0 comments:
Post a Comment